Time to travel again

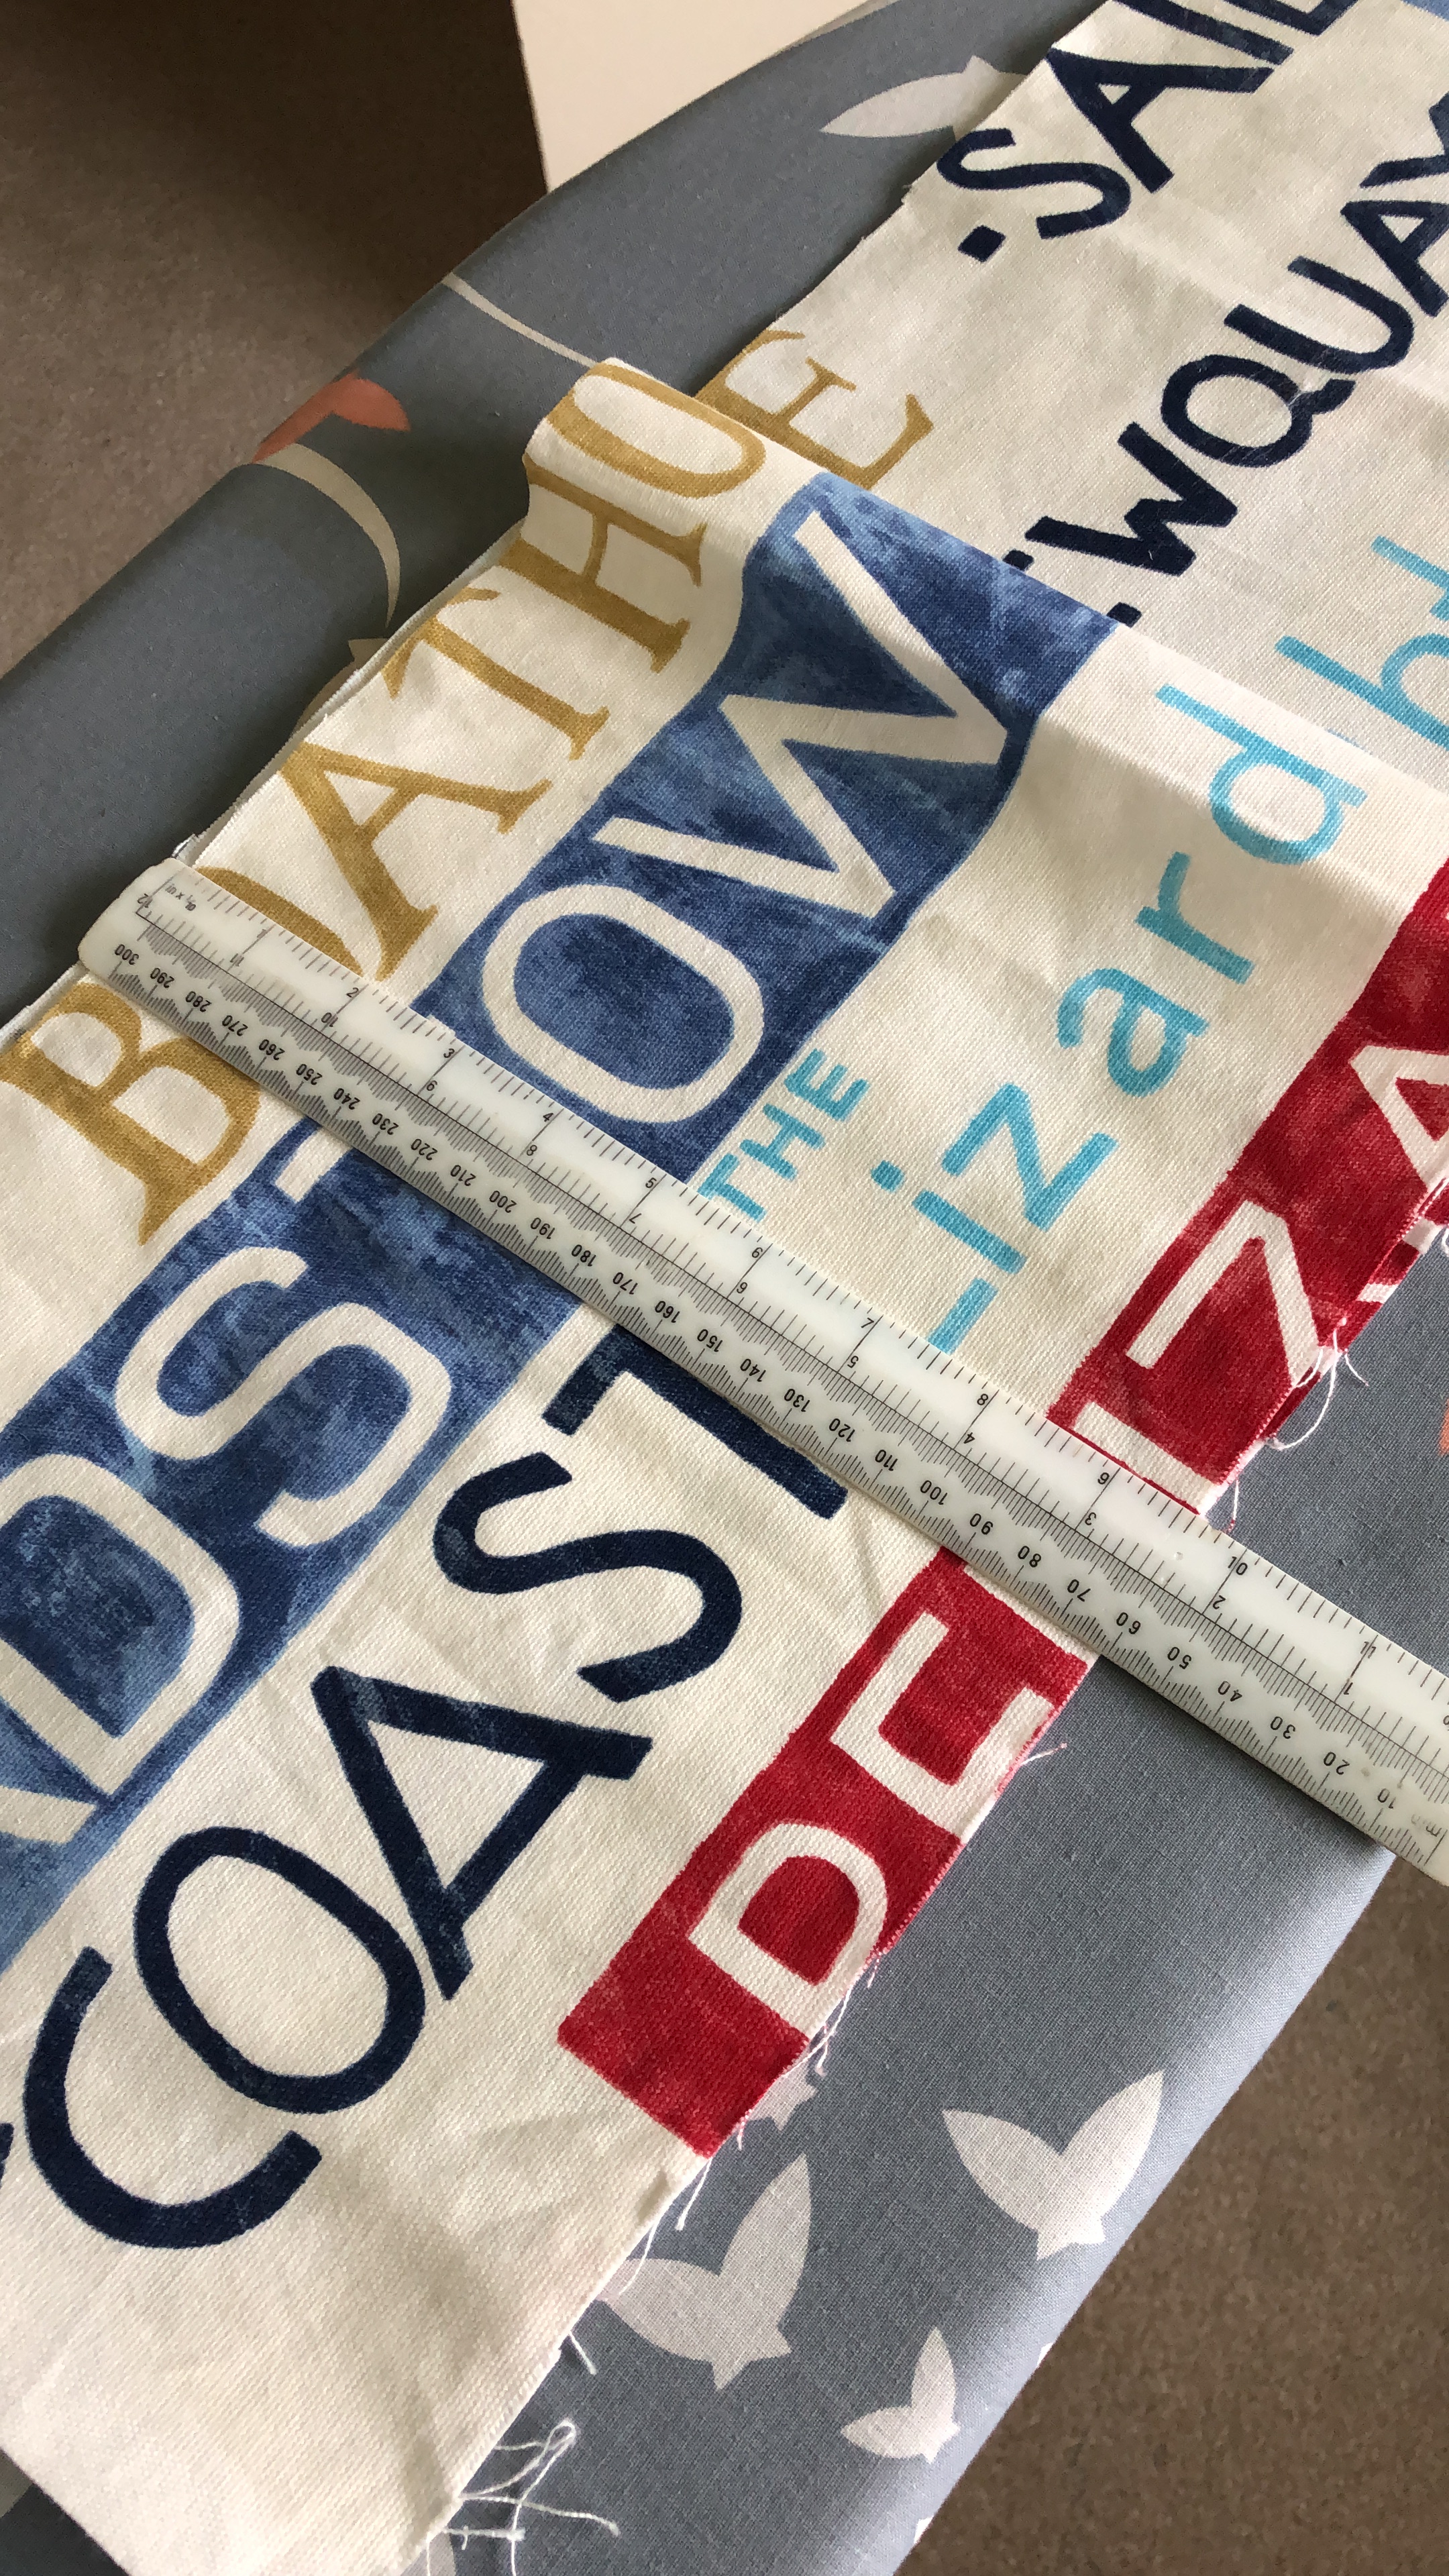
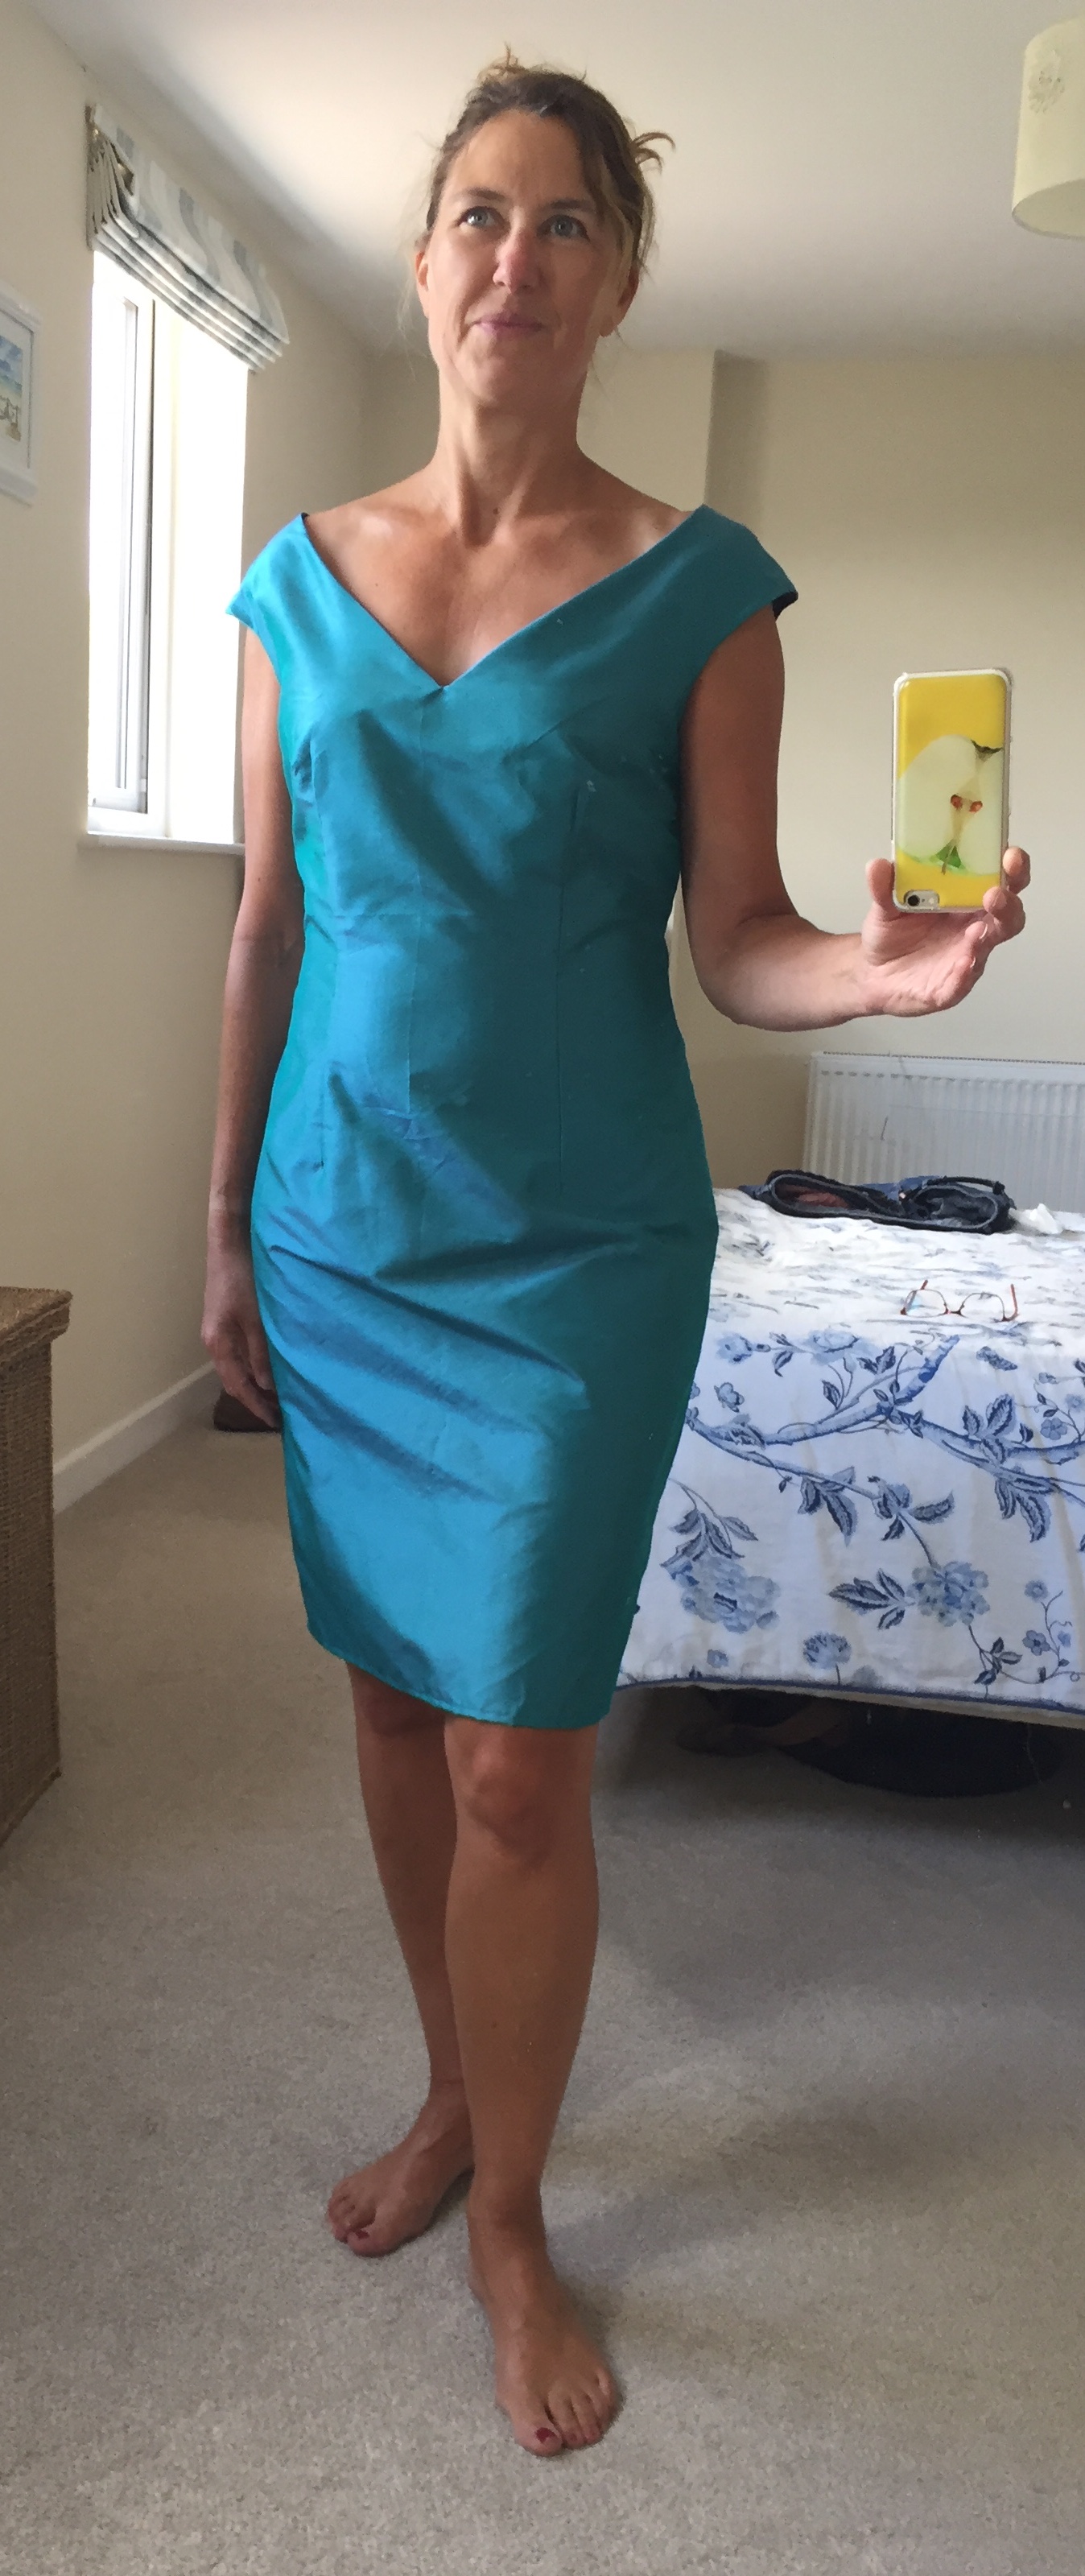
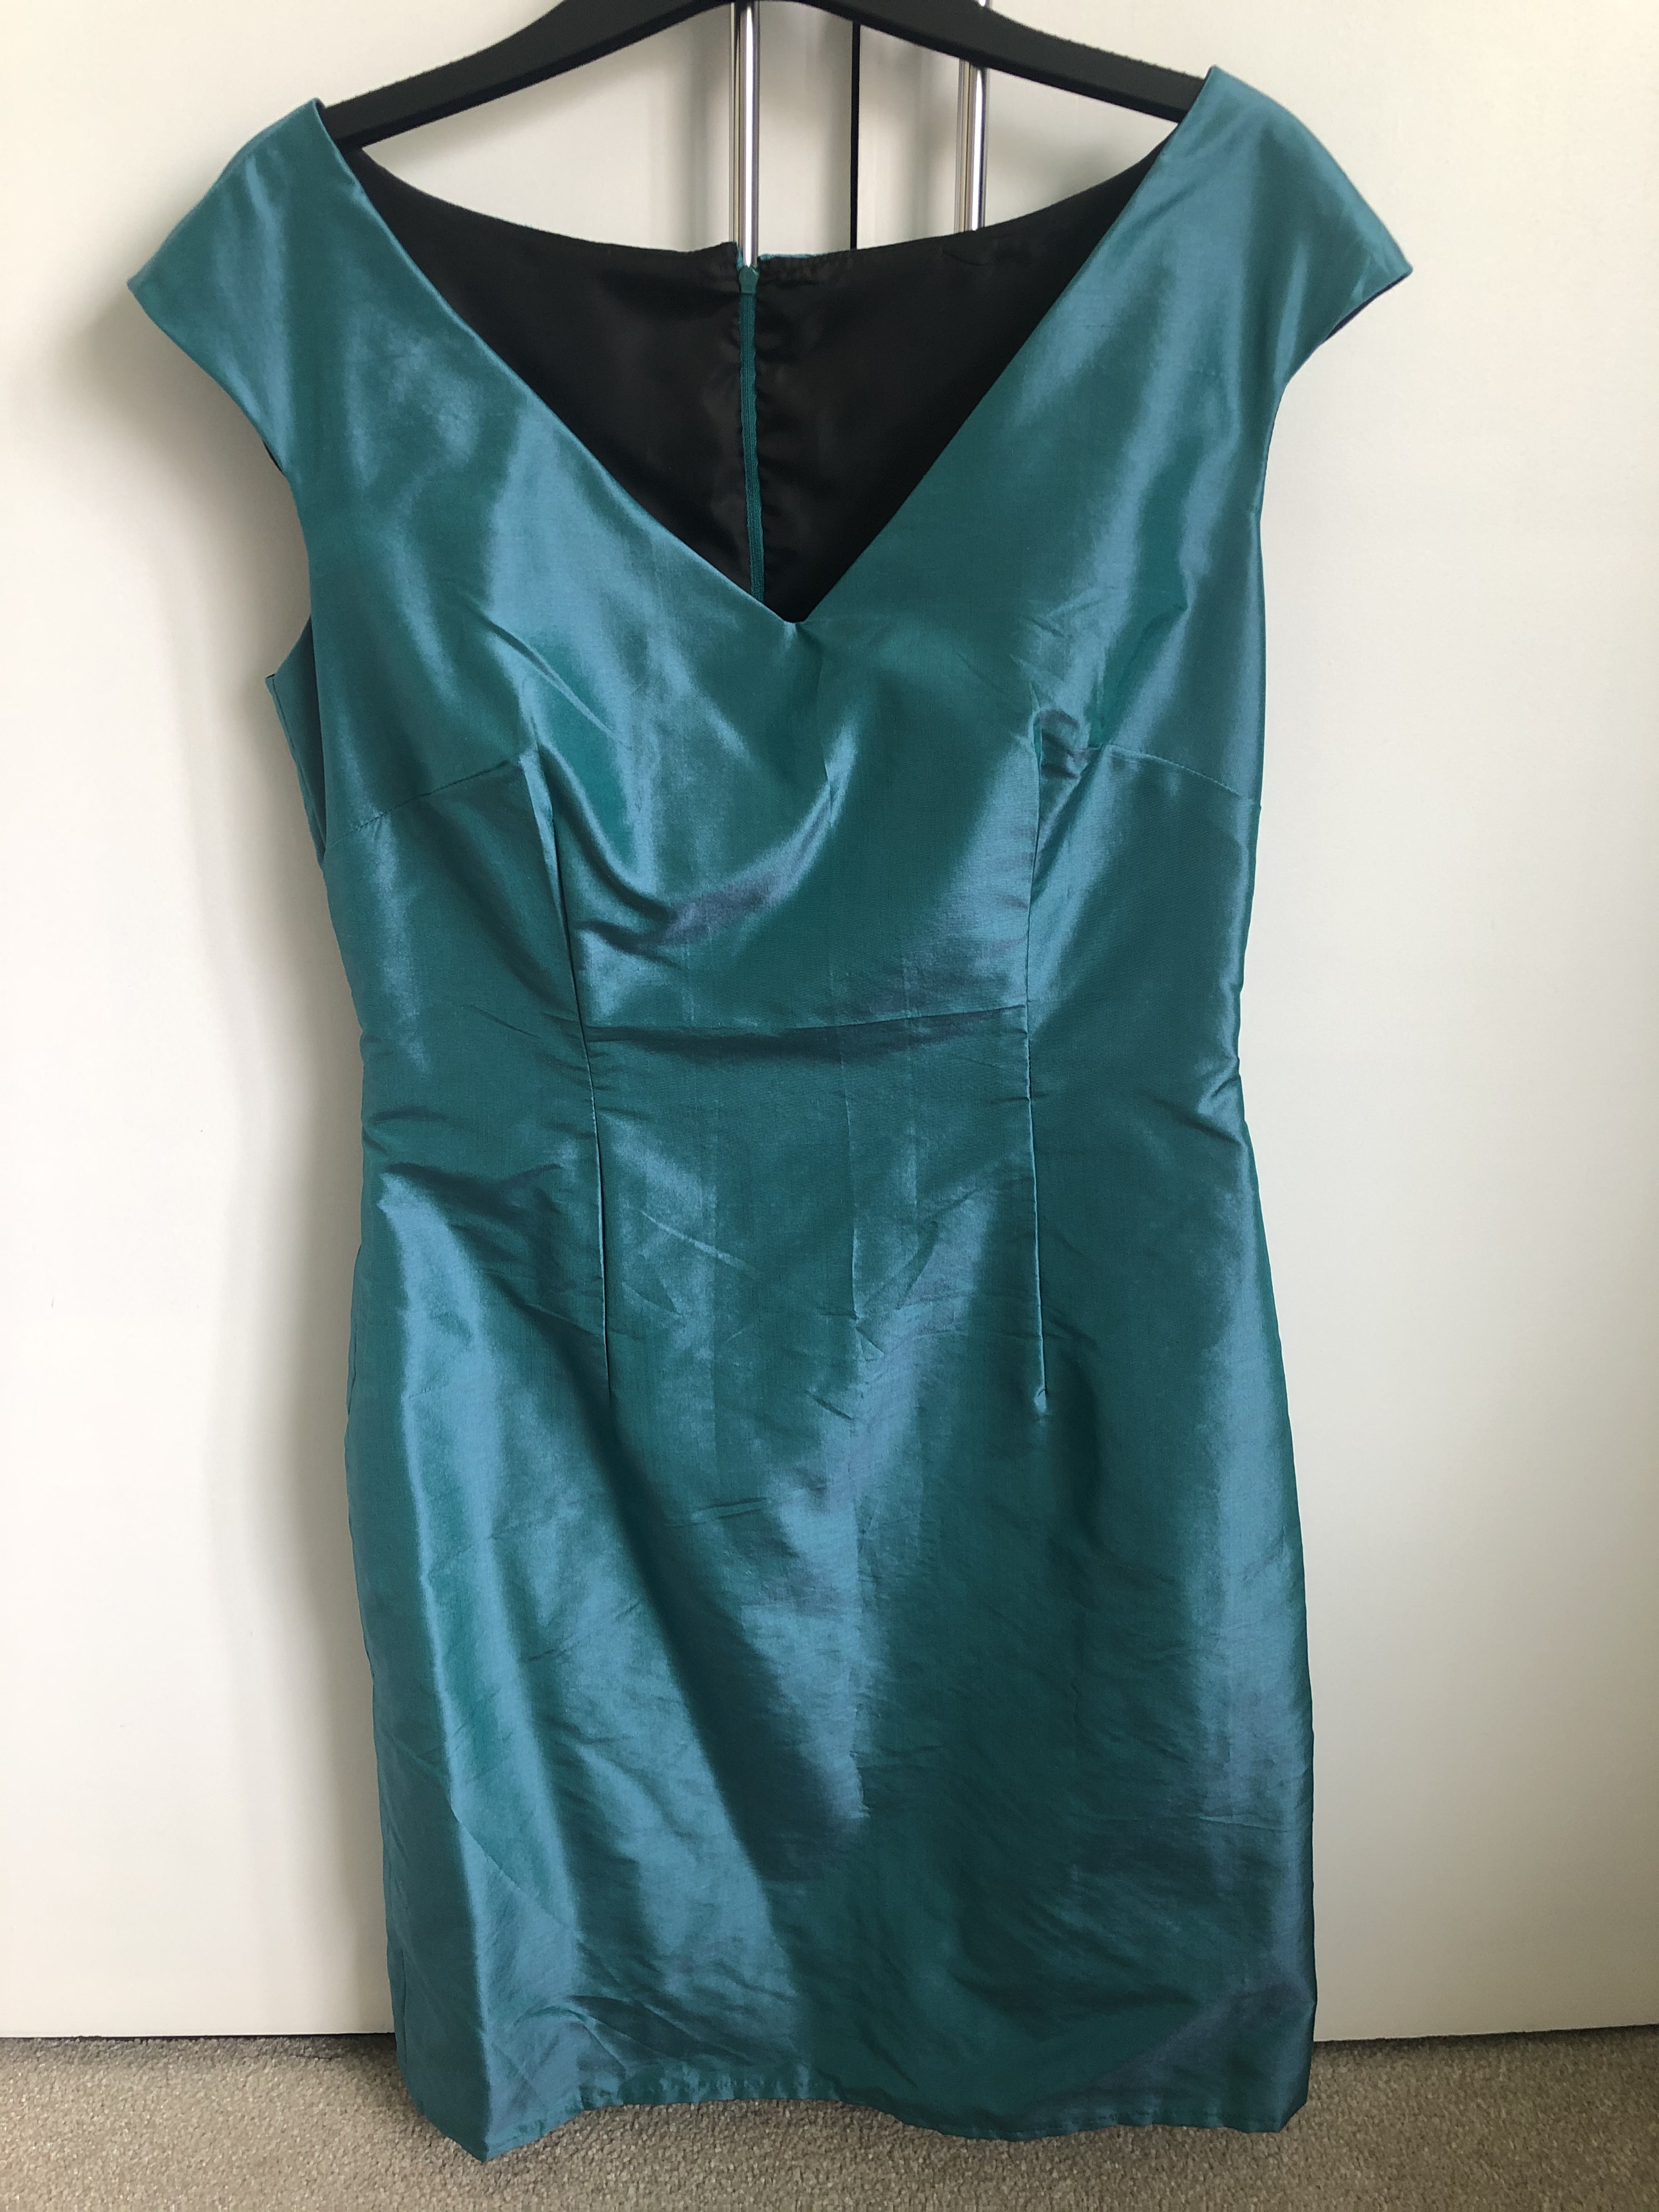
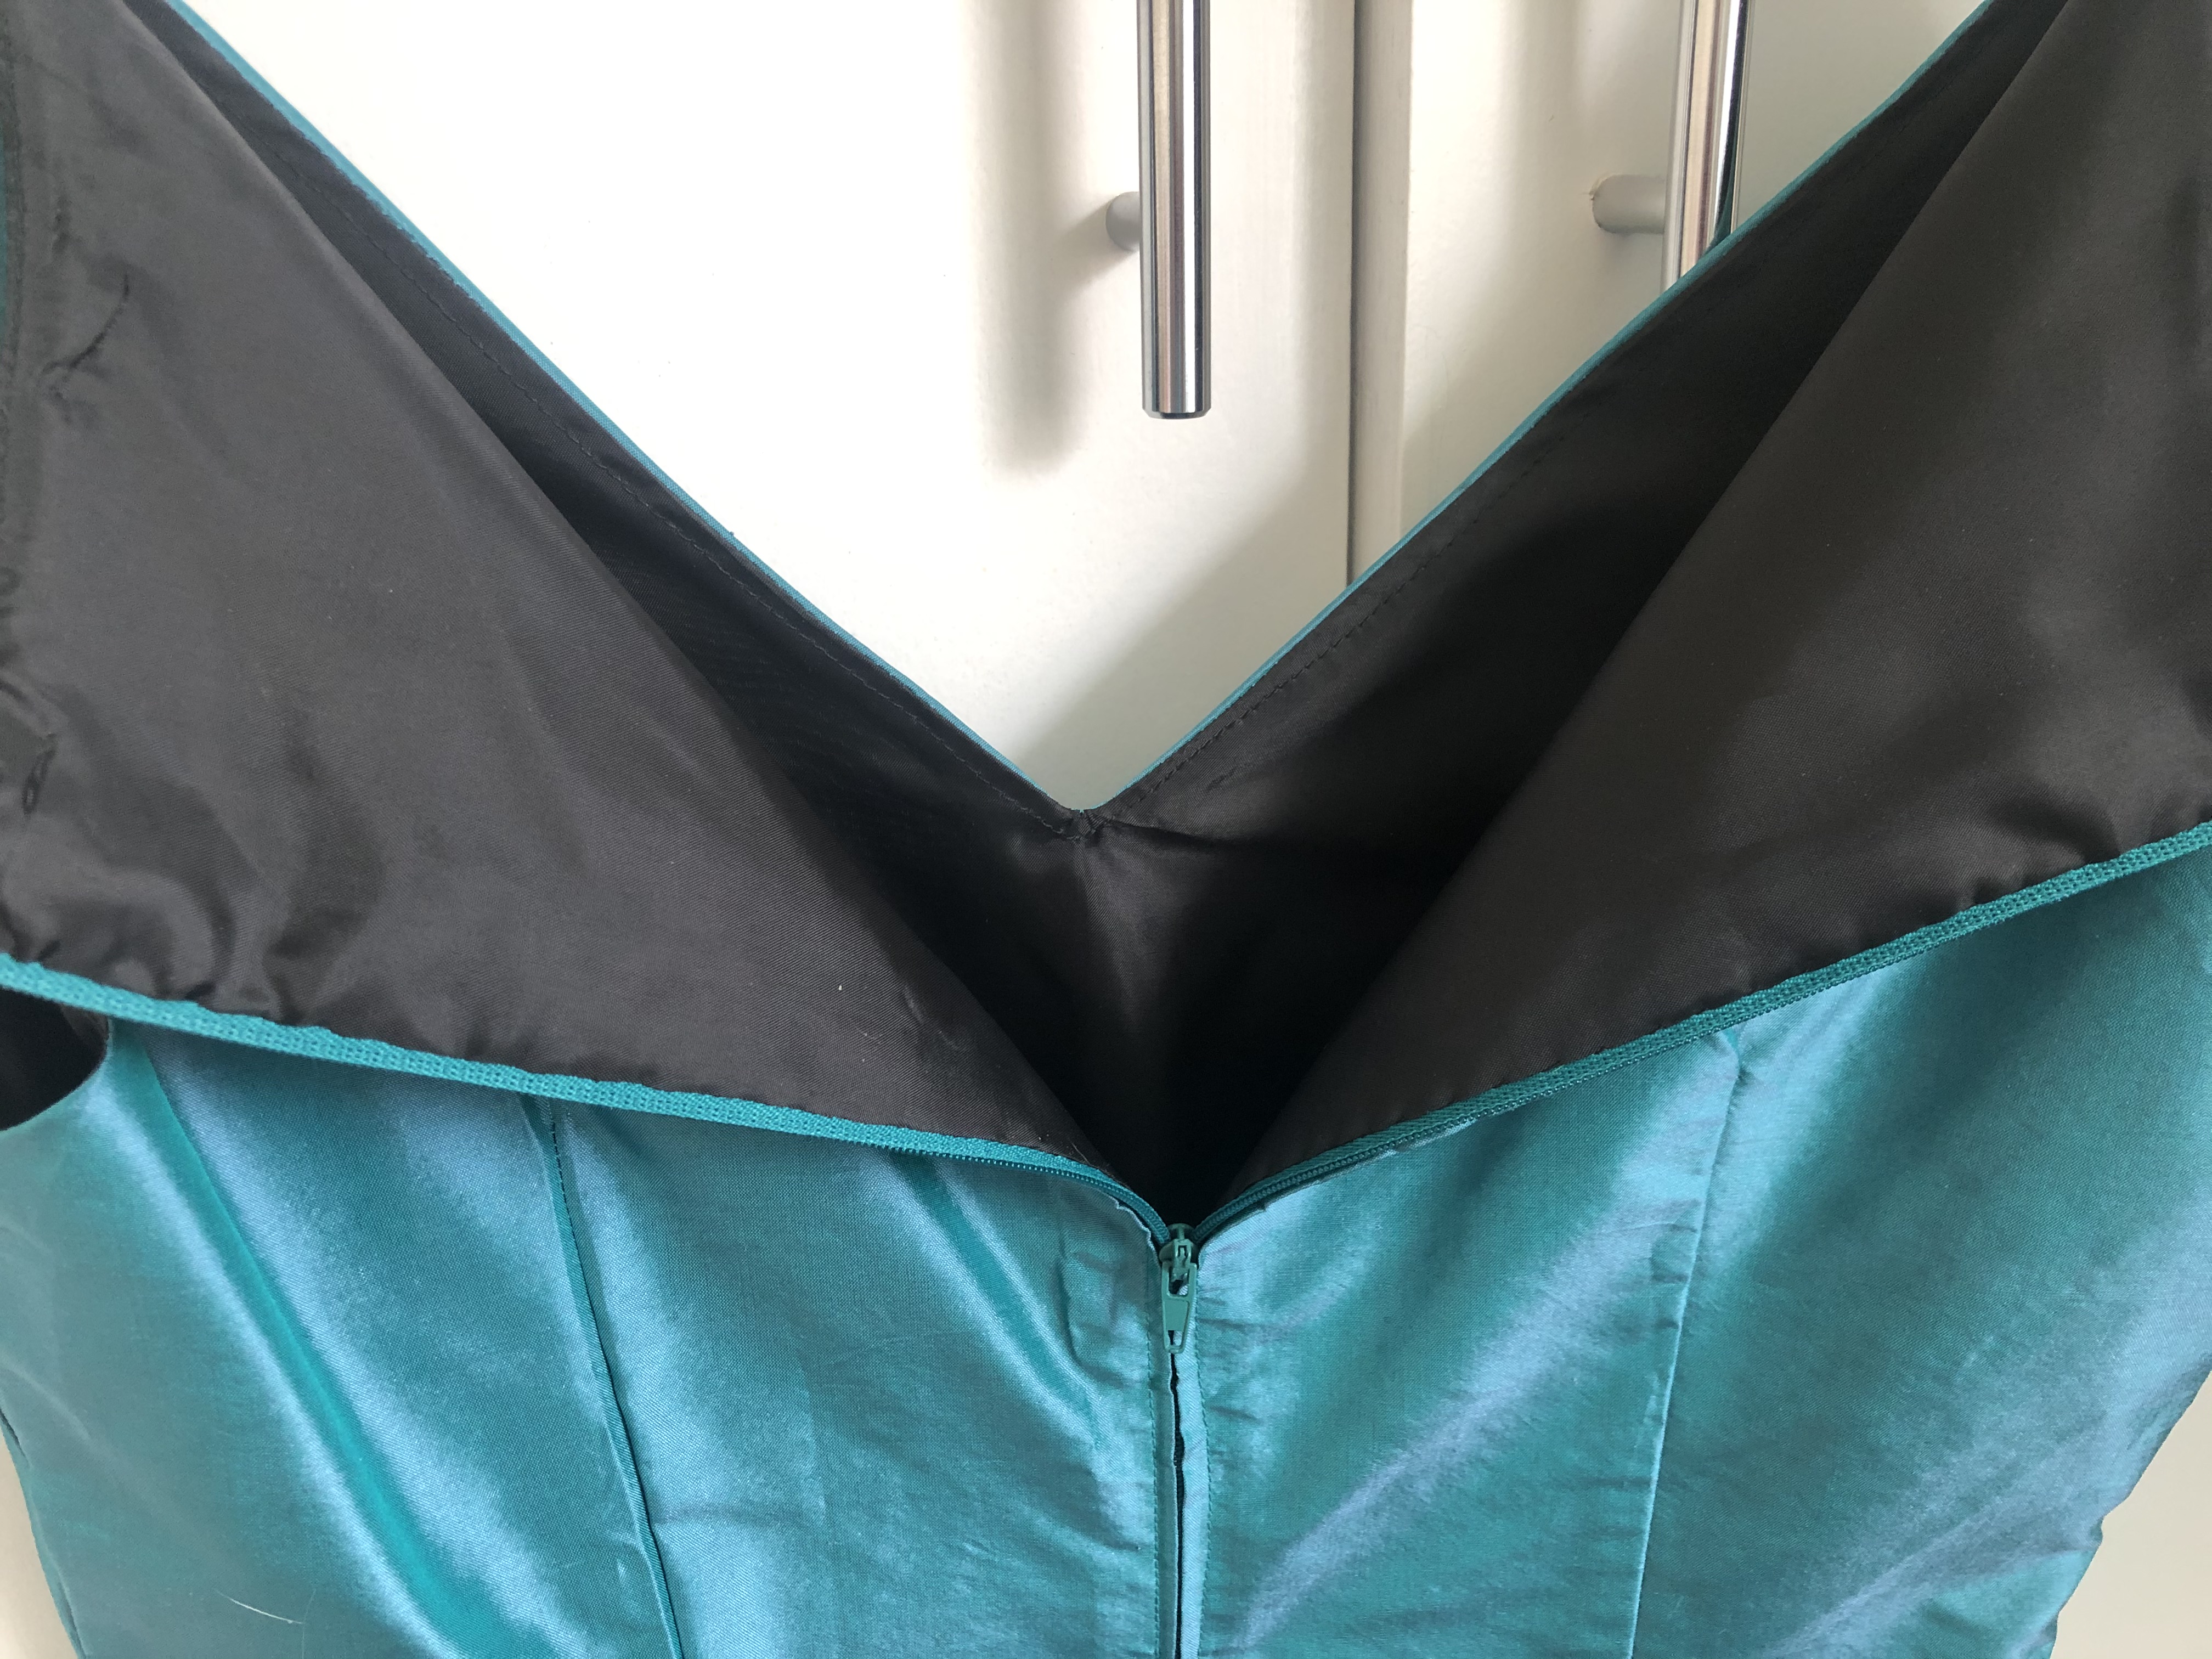
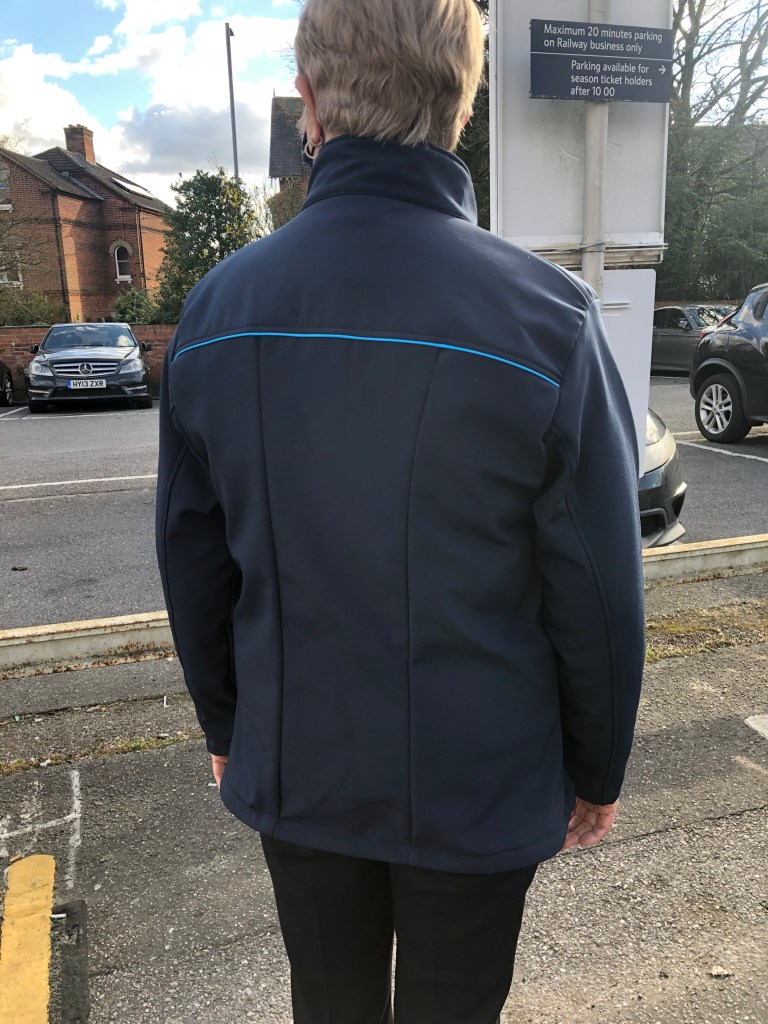
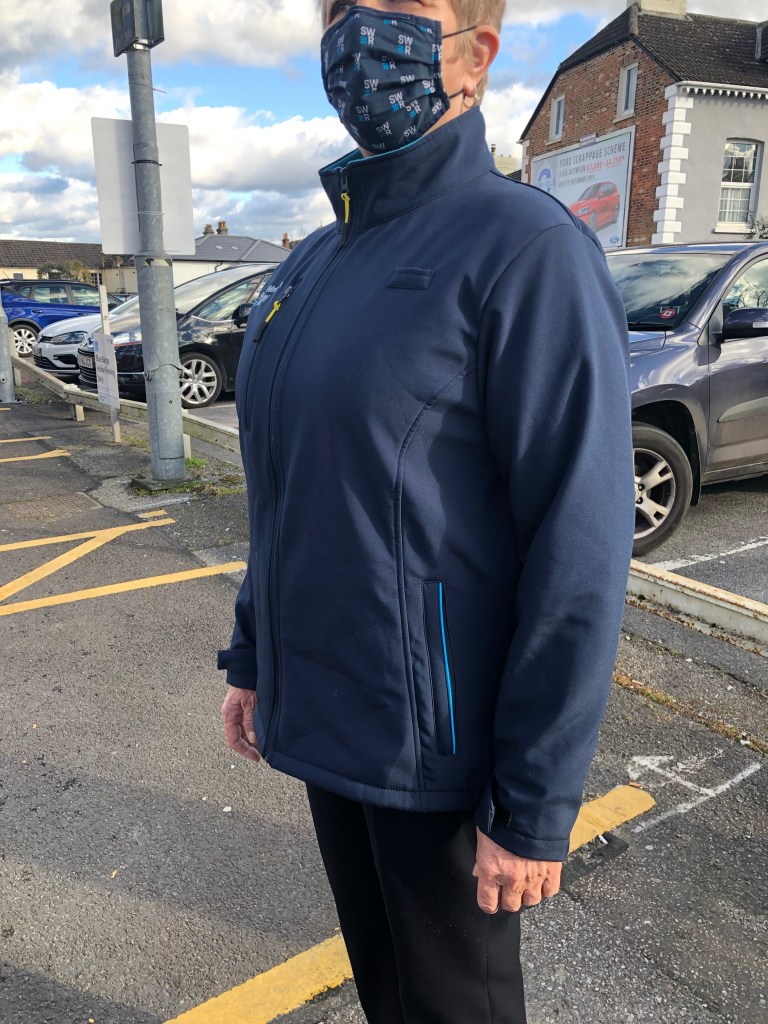
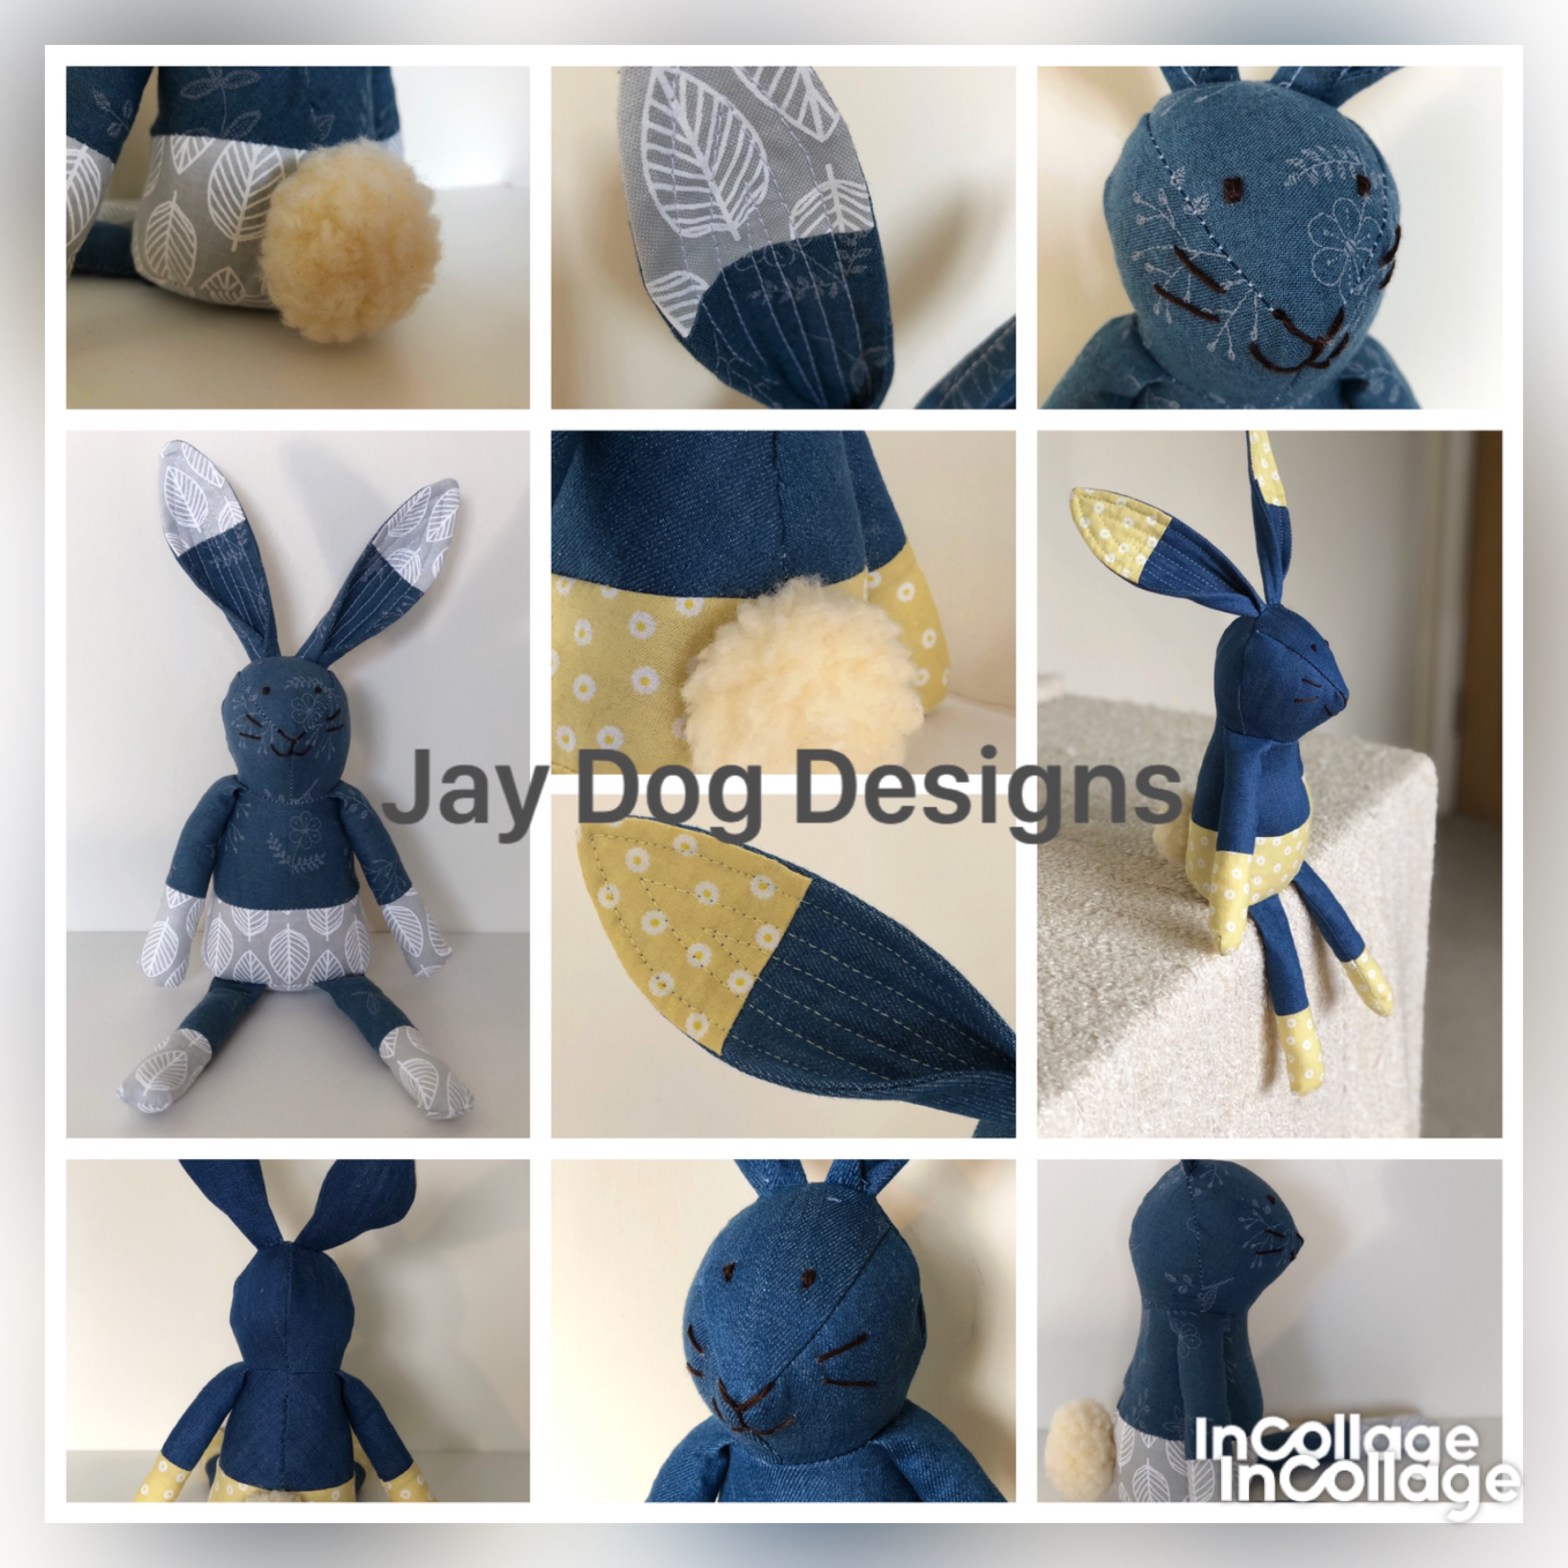
Covid has come and settled in our household this week. Firstly my son, then me and now my husband. We are all jabbed up and only have bad cold symptoms however it has given me the opportunity to write again as sewing, writing and catching up on box sets is all I feel like doing. Housework has taken a back seat this week.

Its been a while since I have had the opportunity to indulge in writing my blog. After coming off furlough last October, the travel business I work in has luckily been going from strength to strength and the day job has got busy.

I have always enjoyed my travel industry career. It started as a Saturday job in a travel agent stamping and reordering brochures, and restocking the shelves. I had never been further than Yorkshire my 15 years and the opportunity to visit other countries and meet new people really appealed. I was offered a job straight from school with the travel agent and started a week after my O’Levels finished. I stayed with them for 25 years and have been very fortunate to visit so many countries both for the work and on holiday.

I now work in a different sector of travel, organising adventure challenges for people wishing to push themselves to do something out of their comfort zone whilst raising money for their chosen charity. I find the work challenging and rewarding. People travel with us for many reasons; some to raise funds for a charity that has looked after a loved one or maybe they have recovered from a life changing and challenging experience and wish to give something back. Its heart warming and humbling when we read the feedback from the trips expressing peoples experiences and how much it has opened their eyes to possibilities within themselves.

After a good friend died too young from a brain tumour, my husband recently took partial retirement from the civil servant so we can spend more time doing the things we enjoy together. A cliche I know, but life really is too short and we should grab every opportunity that presents itself. We now have one day off in the week together to do as we please, usually its a long dog walk punctuated with a pub lunch.

Brunch at Urban Reef, Boscombe Beach, Dorset

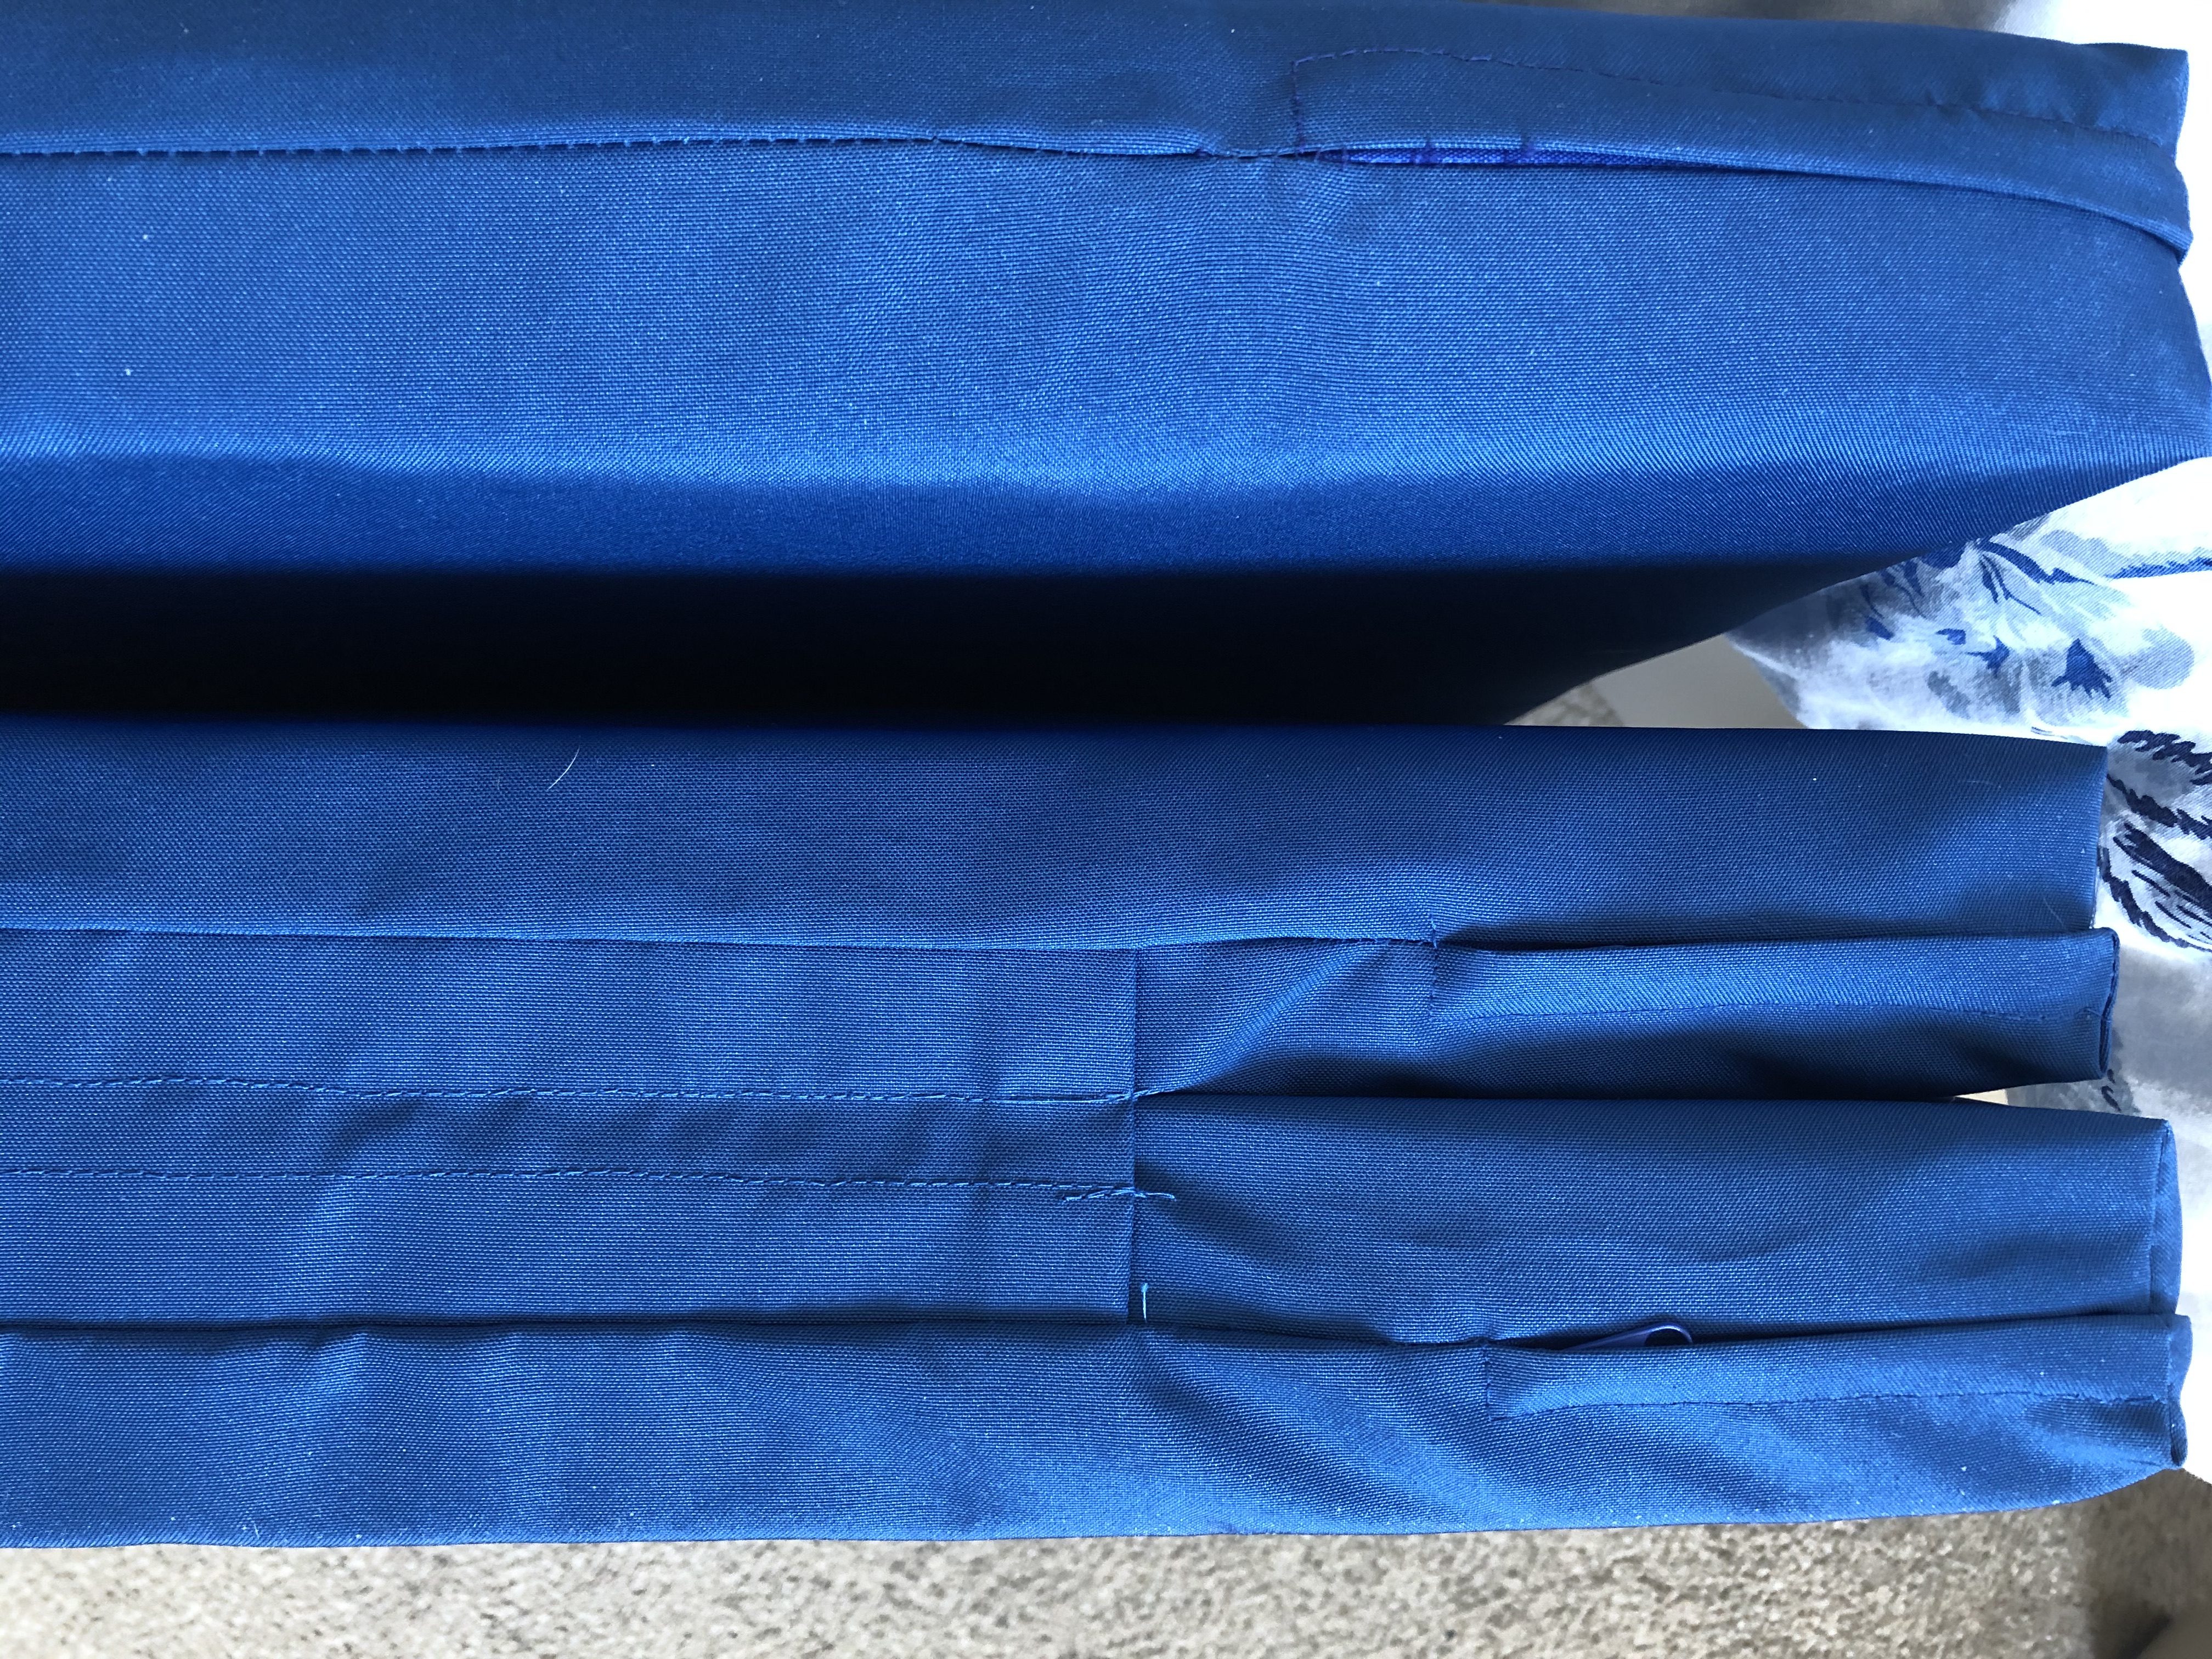
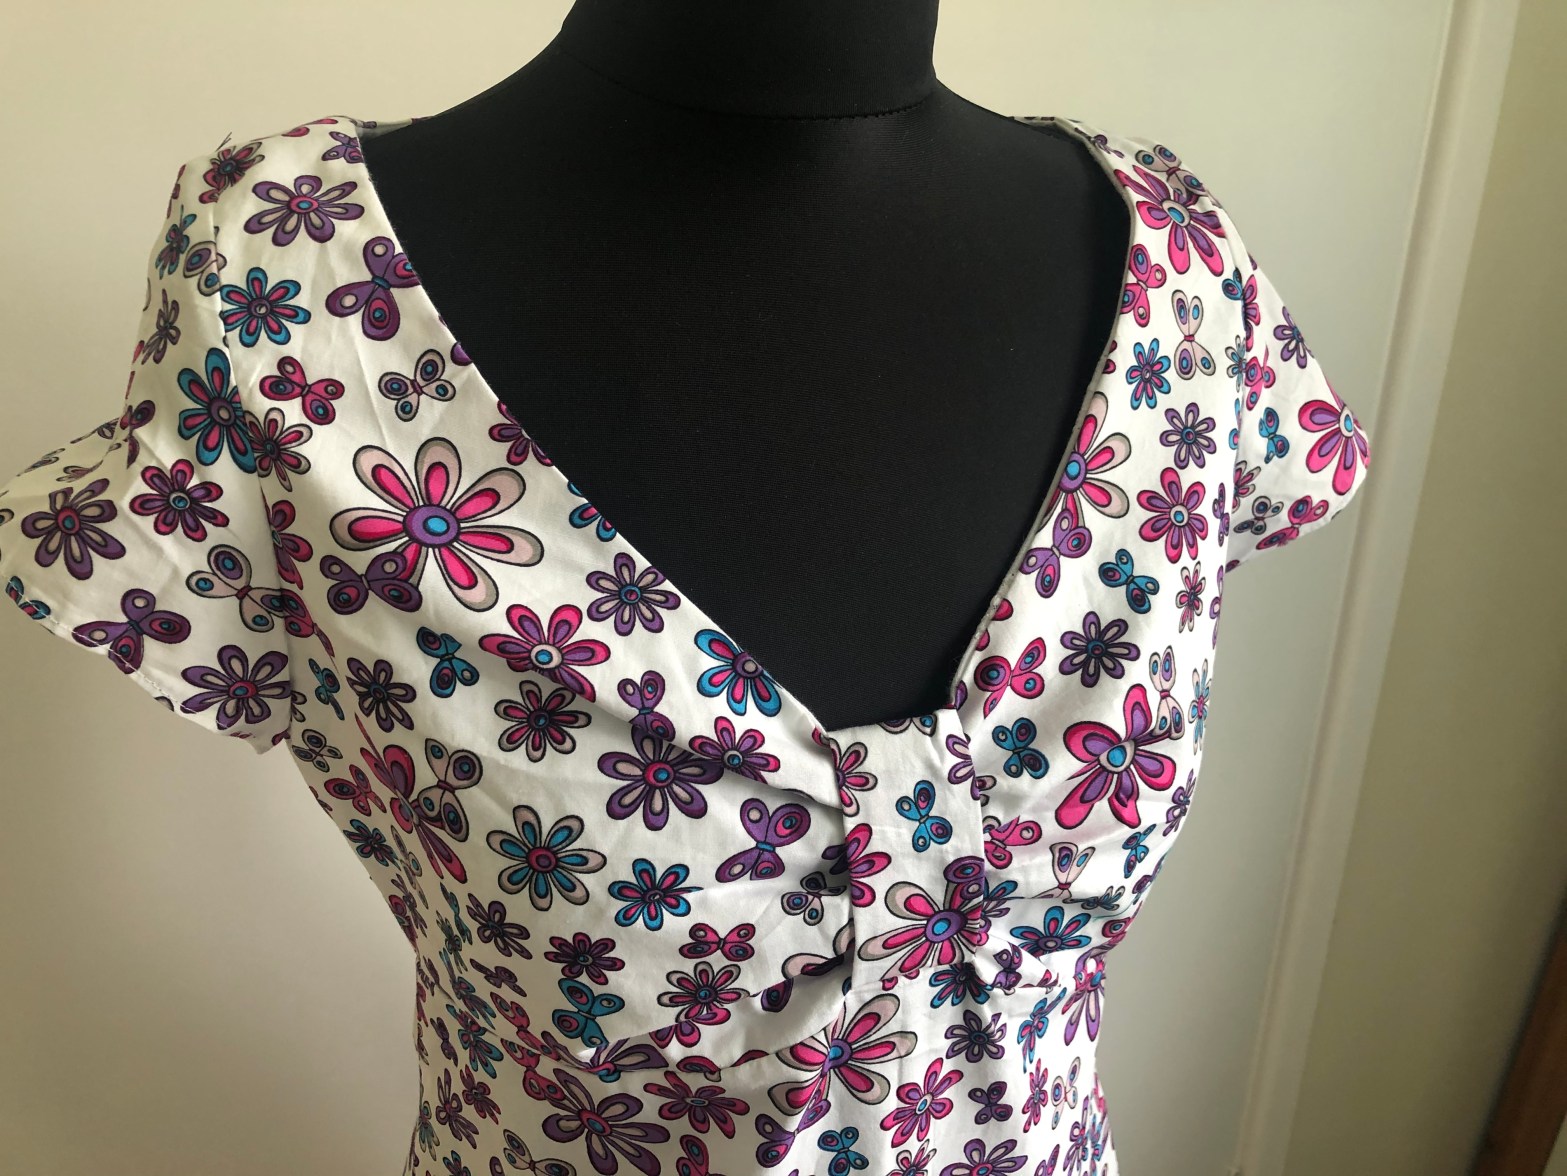
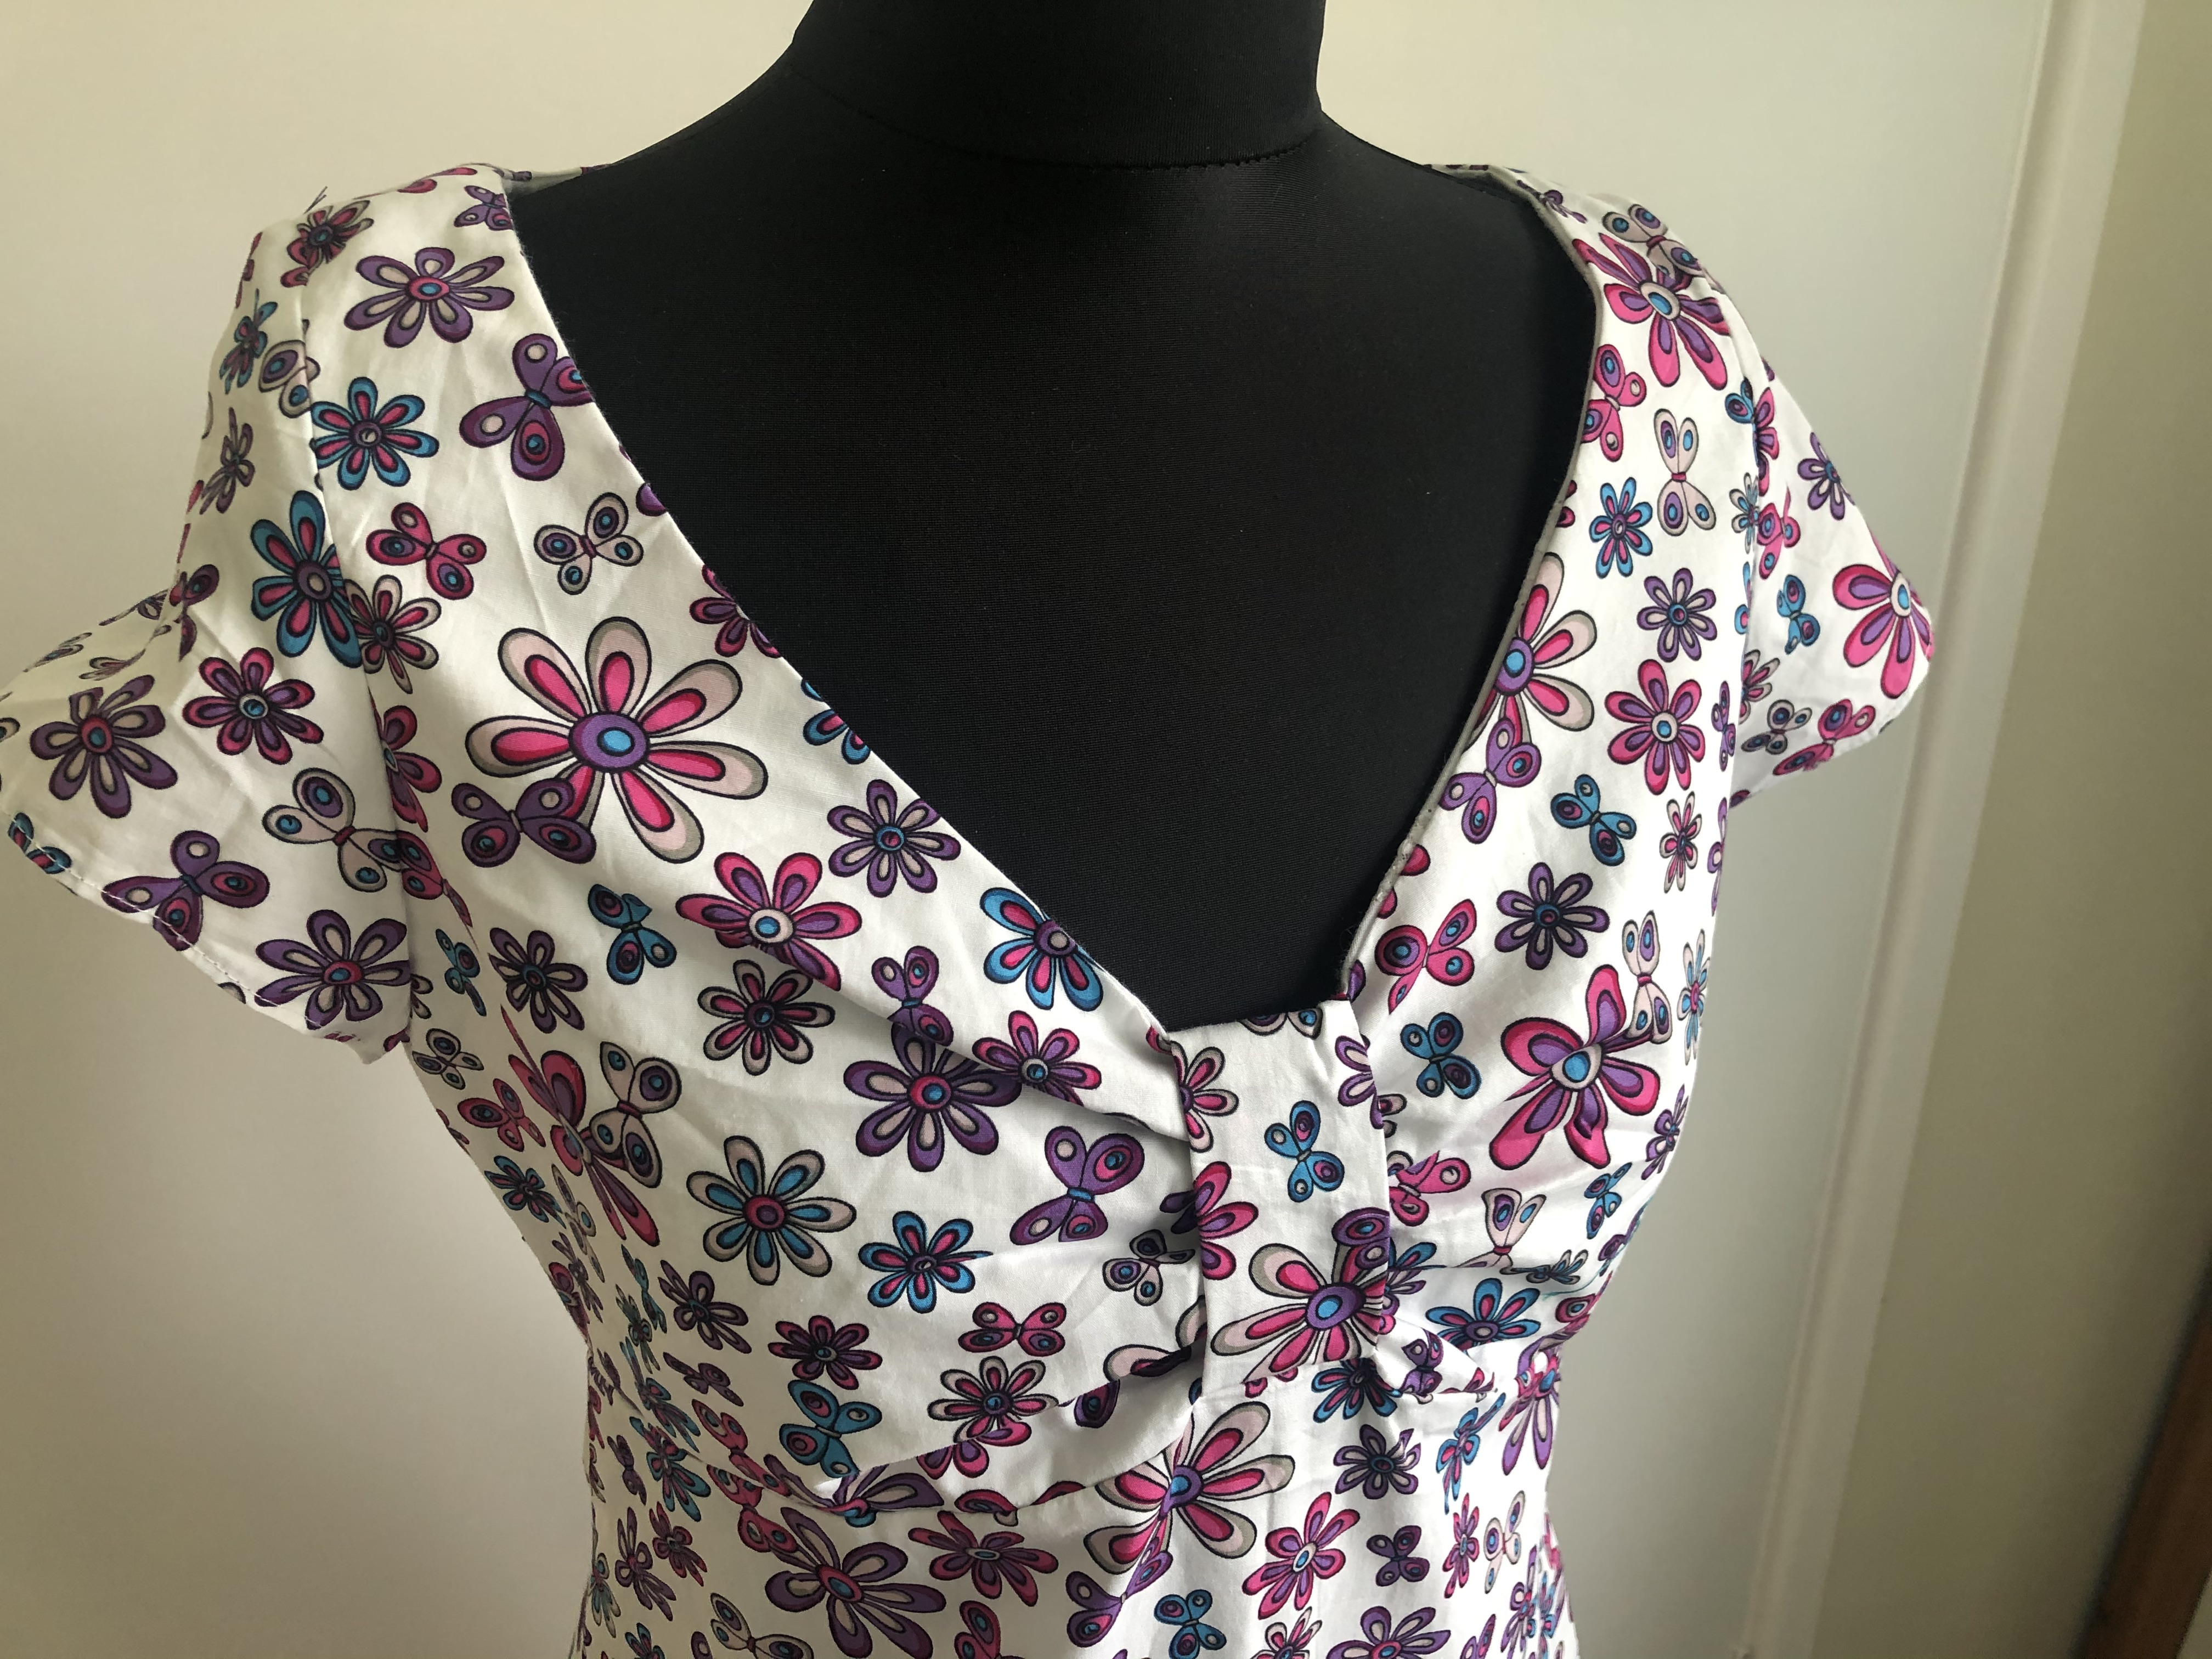
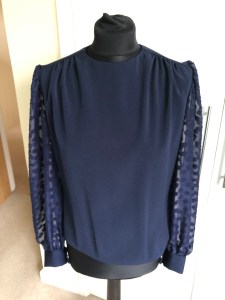
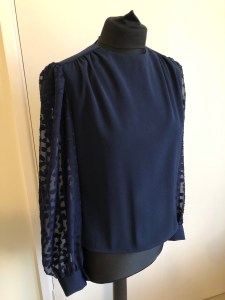
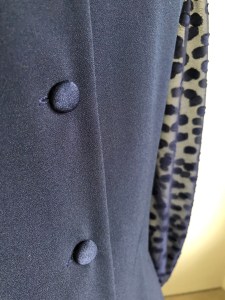
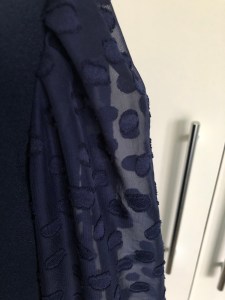
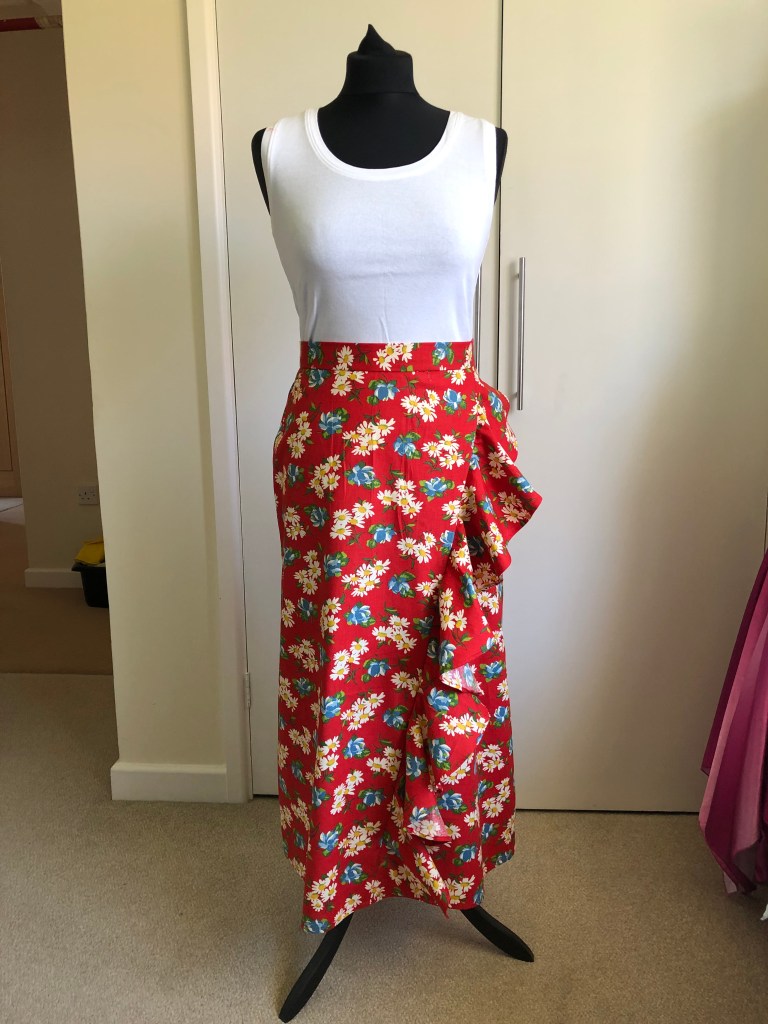
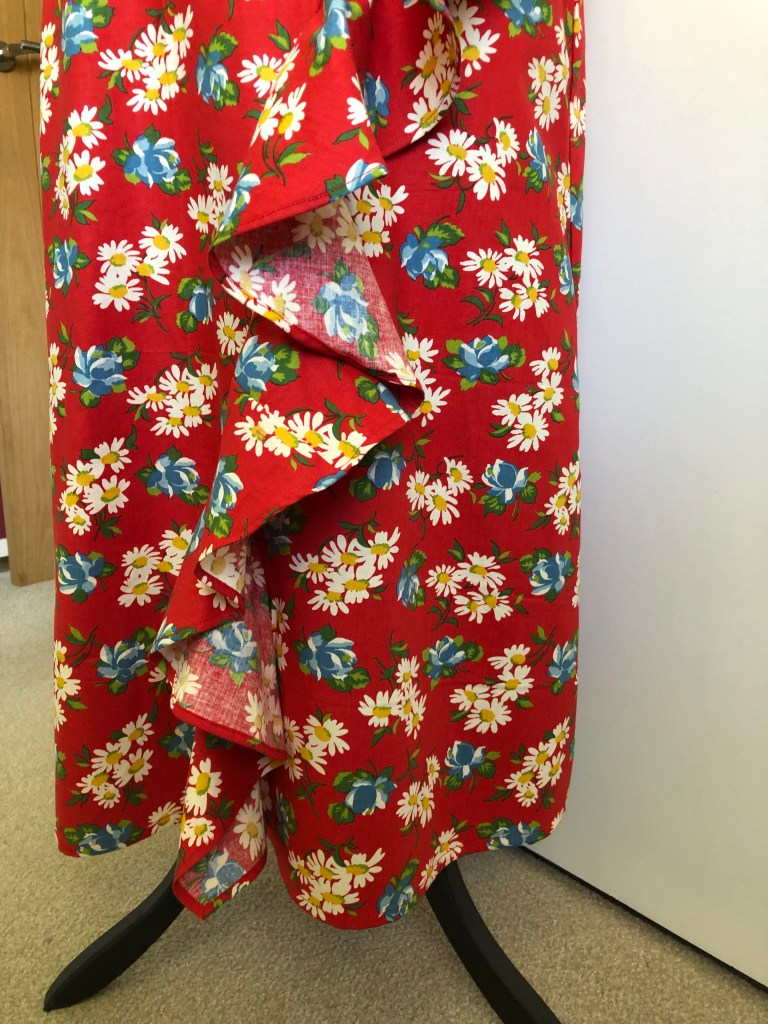
Being in the travel business I am always checking out our next adventure and pitching ideas to my husband and son on where we should travel. Our next trip is off to Spain. A bit of spring sunshine walking around Malaga city and then in contrast, mountain walking in the Sierra Nevadas. It gave me the idea for my recent sewing project, a flamenco inspired skirt. I bought a 2 metre end of roll red and cream flowered fabric thinking I would make a tiered skirt. Unfortunately at 110cm wide it wasn’t wide enough to fit tiers so I adapted a pattern I have had for some years, A-line skirt with a flounce, in to a long maxi skirt. The skirt reminds me a flamenco dancer’s skirt and the rich reds they wear. I will be teaming my skirt with pumps and a white t-shirt for a casual walk around city style.

Wherever you decide to explore this year remember it’s who you travel with and the memories you make together that count.

Collage of my lovely Jaydog

I have a fabric collage in my sewing room that my late mother-in-law brought home from one of her cruises. I don’t know which country it originates but it was from somewhere exotic as it depicts hummingbirds hovering over flowers. I look at it often and wonder where it has travelled from.

It was this fabric collage that inspired me to make picture of Jay in fabric. I have appliquéd before by attaching various designs on to cotton bags however this time I had to design the pieces myself from scratch. First I took a photo head shot of Jay and then sketched it on to an A4 sheet of paper. From there I traced the design on to pattern paper and cut out the various pieces that would make up Jay’s face, neck, etc.

Next I chose the fabric that would blend to make the collage. I have lots of fabric scraps and by making up a mood board, I established which looked good together and would work for Jay’s features.

In order to stabilise the fabric, stop it fraying and make it easier to sew around, I ironed on a stiffener on the back of the fabric. Once it is bounded to the fabric, the templates are ironed on and cut around. The stiffener is glue double sided and once the paper is removed and heat applied, will stick to the background fabric. I assembled the main head and neck pieces, ironed them in place and then machine stitched around the edge with a straight stitch. The head is built up of layers so the nose shape was next with the ears, nose, collar and lastly the eyes making the collage complete.

I intended to frame the collage however I thought it would be more appreciated and seen as a cushion. I tried different fabric combinations and decided the left over red from my curtain alterations showed Jay off to his best. Using this at the top and bottom as a border and for the back and once the zip was inserted at the bottom edge, he was good to go.

It has turned out better than expected and I love it, but not as much as the real Jay dog. Bless him.

Campervan Cushion Cover Capers

When a friend asked whether I could make cushion covers for his campervan I thought sure no problem. Little did I realise there were many large and small foam pads to cover with metres of fabric and new skills to be learnt. Never one to shy away from a challenge, I started with YouTube, watching tutorials on sewing boxed corners and continuous zips. Once again I followed the sewers mantra – measure twice, cut once and make damn sure you have the maths correct!

I was working with a royal blue waterproof/wipe down fabric which was surprisingly easy to sew and work with. It made nice sharp corners and holds its shape well. The minus point is that once you have sewn it, the stitching holes are set so you cannot unpick and move the seam without seeing where the original stitching was.

The zips are the trickiest part of the make. Getting the sliders onto the zip takes patience of a saint and I’m no saint. After an age getting the slider on, I check its working ok only to have it slide off the opposite end with me cursing and having to start again. Another tricky part is getting the corner seams inline when the zip is closed. I hate things not lining up but thankfully all corners have passed my exacting standards.

Part of the commission was to make a mattress that concertinaed and folded from three parts of foam to lie flat. After thinking around the problem, I came up with a solution to sew a piece of fabric in each side seam to connect all three cushions together. It’s hard to explain but hopefully you can see by the photos below that it worked.

Lastly, I was asked to make scatter cushions from a fabric that my friend’s Mum had given him years before. The fabric has a variety of Cornish towns and beach names, giving it great significance as the family are from Cornwall. Slight pressure as I had to get four cushion covers out of a metre of 145cm wide fabric. It took a lot of measuring and double checking before I was happy to cut this irreplaceable fabric. Making an error wasn’t an option. All good though and I wizzed them up in no time. Phew.

I had a strip of Cornwall fabric left and as a gift I made four placements which they can use on their campervan travels.

I am really pleased how they have turned out and luckily so is my friend. Although daunting at the start, it has furthered my sewing skills and given me the confidence to make the old sail bean bag for the garden that I have been meaning to tackle for the last 2 years. Watch this space.

Finishing what you started

In the past I used to flit from one project to another. Perhaps the first wasn’t turning out as expected or didn’t fit properly. Disappointed, I would put it to one side and start another project. I think that was my inexperience and not knowing how to tailor a garment or work around problems finding solutions. Experience in sewing does count for a lot. I have learnt many more skills in the last 12 months, having tried different fabrics and sewing projects. Thank goodness for YouTube. If I have a problem there’s always someone who has had the same issue and posted a video with a solution.

Patience is a virtue and especially in sewing. Hand stitching satin bias binding around the outside edge of a poncho takes time and patience. I contemplated machine stitching it in place for speed but it just wouldn’t have had the professional look I wanted. Therefore I settled back, needle and thread in hand with my favourite box set on the iPad.

Two projects that had been left to one side for years. A cotton tunic lined with broderlie anglaise lining that didn’t fit, wasn’t finished off and the zip was inserted poorly. This was easy to alter and fit, all sorted in a jiffy.

The second project was a silk dress made from jade silk I purchased over 20 years ago in Thailand. I had made a simply shift dress with a slightly off the shoulder neckline.

Pulling the dress from out from the bottom of the fabric basket I assessed the problems. The neckline didn’t fit well, the underarms stuck out and the facings around the arms and neck looked awful. The silk is a light weight fabric and I decided it would be best if the dress was fully lined to add body and avoid having to wear a slip underneath. Lining is essentially another dress inside the first dress and as I still had the original pattern pieces, I cut out the lining in black fabric. The advantage of lining a dress is that any raw edges (and silk frays dreadfully) are enclosed to give a clean finish. After stitching the lining to the armholes and neckline, finishing the hem and turning the dress the right side out, the last job was to hand stitch the lining to the zip edges

From a disregarded project to a beautiful dress I will be proud to wear. It just takes patience and a positive ‘can do’ attitude. I think this comes with age and experience, and life with children and dogs. On your sewing projects take your time, double check things and above all enjoy it.

Terri

Is it a dress or a pinafore?

I had been thinking about making a corduroy pinafore for a while and as luck would have it I found the perfect pattern in my recently subscribed to Simply Sewing magazine (https://www.gathered.how/magazines-simply-sewing/). The Carnaby dress by Nina Lee (https://www.ninalee.co.uk/shop/carnaby-dress/) can be used as a dress with or without sleeves or as a pinafore to wear layered with your favourite t-shirt. The pattern appealed to me with the on show zipper at the back being on trend at the moment. I also liked the idea of invisible pockets at the front, hidden in the lower skirt seam. It looked quirky and bit of a challenge.

The article suggested several fabrics and I spotted a lovely needlecord, light green with a silver bird motif from Express Mills (https://www.empressmills.co.uk). When the fabric arrived it was lighter weight than I expected and thought the pinafore would benefit from being lined therefore I swapped out the neck and armpit facings for a fully lined version. I am not a fan of polyester lining as it frays dreadfully and slips and slides like a moving snake when you sew it so I ordered a plain black poly cotton. It’s cheap, easy to sew and gives the garment body. Before I cut out the pattern I lengthened the dress and lining as it would have been too short for me.

The instructions were easy to follow and the dress came together quickly. The pocket section took some figuring out and were a little fiddly. I wanted to make sure you couldn’t see any of the pocket lining poking up above the seam line. The dress lining is essentially a second dress tucked in to the outer dress and sewn around the edges of the neck and armhole and hand sewn to the zipper inside to obtain a really neat finish.

I am really pleased with the result and can’t wait to get the opportunity to wear it. I will be using the pattern again to make a summer version, perhaps with a contrasting lower section for extra quirkiness.

If you would like me to make this or any other pattern for you or have any sewing project you would like me to take on, please contact me through the contact page, email or phone.

Terri

Make Do and Mend

Make Do and Mend was a pamphlet issued by the British Ministry of Information in the midst of WWII. My father was of this era and he was a clever craftsman who could turn hand to most trades. A college tutor for most of his life, he was a patient and quiet man who rarely raised his voice. His trade was plumbing but our whole home has his stamp on it. All the bedrooms have built in wardrobes hand built by him, with the walls papered and decorate by my father. Many a broken toy or bike was mended in his exceptionally tidy workshop.

I definitely inherited his crafting ways and the need to mend and reuse rather than throw and buy new. Our living room is an example. Curtains which originally fitted our old house bay windows still had a good deal of life left in them when we moved to our new home, and I still liked the pattern and colours. There was a problem, they did’t fit. For the front window the curtains were too long, for the patio doors they were too short. What to do. First the easy bit, take the long curtains up. Secondly, to make the second set longer I bought contrasting fabric and added a block of colour to the bottom of the curtains, plus I extended the lining by adding a further length of lining. Sorted.

There is nothing more satisfying than taking on a challenge, working your way through with a little imagination and determination.

What will your next challenging project be? Have fun with it.

Terri

When is a dress not a dress? When its a blouse!

I love a challenge and to create a completely different garment from the one you started with takes imagination and courage. Once you made the cut, you are in to it whether you like it or not.

My most recent garment upcycle is a blouse from a dress. My neighbour had recently retired from the British Army and asked if I could use two long formal army dresses as they were now redundant and due to go to the recycling centre. I immediate said yes please. They are good quality satin backed navy crepe that drapes lovely. There was plenty of fabric in the skirt to make a blouse so I set about unpicking the bodice from the skirt and detaching the lining. Laying out the three large separate skirt pieces I juggled the blouse pattern pieces to fit. I used the Misses Vintage Blouses Simplicity Sewing Pattern 8736.

The crepe is a medium weight and I decided the sleeves would be best in a lighter contrasting fabric. I chose a Swiss clip jacquard navy chiffon from Minerva.com. Chiffon is tricky to sew as it slips and slides around beneath your sewing machine foot. A firm grip and a slow machine speed is required to keep control. It also frays dreadfully so I used a french seam to contain the frayed edges.

As the crepe is satin backed it seemed ideal to use the wrong side of the fabric to bring contrast. I used the satin side for the cuffs and to cover the buttons.

I am very pleased with the result. When we are released in to the world again, I will be wearing this with skinny jeans, tall brown boots and my hand made navy poncho.

Terri

Does it come in large?

A friend of a friend was given a mens extra large soft shell jacket as part of her uniform. Not being XL herself she wanted it tailored to fit her and seeing the jacket it on her I thought, “This is going to be a challenge”.

The sleeves were too long and baggy, the shoulders too wide, the hem too long and the whole body of the jacket too wide for her frame. Actually there really wasn’t much that look right at all if I’m honest! Not one to give up easily, I stuck a few pins in here and there, made some notes and took the jacket away to contemplate my next move.

Before alterations

First job was to sort out the sleeves. Working for the inside I sewed around the seam head and armhole through all layers 2.5cm in from the original seams. This took off 5cm from the shoulder width and 2.5 cm from the length of the sleeves. Great, first bit done. Next I tacked a row of stitching 2cm from the original stitching along the sleeve length to the underarm and continuing down the side seam, taking the bulk from the sleeves and body. I repeated this for the second sleeve. The body of the jacket was still not tailored enough for a lass so I pinned and tacked two back darts to take out the bagginess. The hem at the rear of the jacket needed unpicking and pinning to make it level with the front and more in proportion to the new shape I was creating.

At this point I asked if I could have the friend try on the jacket to make sure I had the dimensions correct. Once I cut away the excess there was no going back. All looked good so I charged ahead and sewed over the tacking stitches, finishing off the raw edges with my overlocker. The hem involved a couple of darts to take make the fit good and some top stitching for effect.

I am pleased with how it has turned out and it fits her well. Thank you Tina for letting me lose on your uniform and having the confidence in my abilities. I hope the jacket keeps you snug and warm at work now.

Any alterations you think I can help with, please do get in touch by email, phone or contact page.

Jay Dog’s Dressing Gown

It has been a very muddy winter. Jay has had more wash downs this year than ever before however this happens when he gets home, in the meantime there’s a muddy wet dog in the boot of the car surrounded by wet muddy towels.

It’s annoying to have the drying towel dragging in the mud as you are trying to dry a wet wriggly dog, so I designed his towelling dressing gown to dry and warm him until we get home.

Using his raincoat as a template (I know, spoilt dog has a wardrobe if his own!), I used two old bath towels for the gown. I laid out the coat on the towels and cut around the silhouette, leaving a seam allowance. I wanted to wrap a piece of towelling underneath him to absorb the mud that flicks up on to his belly. This was a wide strip taken from the remainder of the towels.

I sewed around the edges of the gown leaving the neck and throat edges open so I could turn it to the correct side and the seams would be enclosed. Before sewing I pinned the underbelly strip to the outer coat inside so when the seams were sewn the stripe was attached and the seams were enclosed also.

Jay’s first fitting proved the neckline was a little too snug to get his head through easily. After cutting away the fabric to make a larger hole, I sewed together the front sections around the throat from the inside so once gain the seams were enclosed. For a decorative look and to bring a certain rigidity to the neckline, I bound the front with canvas strapping. It gives shape and something to grab hold of when pulling the coat over Jay’s head. Lastly I sewed a strip of velcro to the underbelly wrap and on the main body of the gown secured the underbelly strip.

With the left over towel pieces and another old towel, I made towelling gauntlets to use to rub down Jay’s muddy legs and feet.

I am pleased with the result and it has been really useful this winter. Doesn’t stop the wet dog smell but at least the boot doesn’t resemble a mud bath!

Easter Bunnies in Abundance

I’m making Easter Bunnies and Cheeky Chicks. Shhh, don’t tell the grandchildren. It’s a surprise to be posted along with their Easter eggs.

I am using a pattern from Simply Sewing magazine featuring a free rabbit sewing pattern by Jo Carter (https://www.gathered.how/sewing-and-quilting/sewing/how-to-sew-a-bunny-toy-softie/). I have plenty of fabric scraps left over from previous sewing projects and have chosen to use denim and pretty patterned cottons. Both are easy to sew with and the seams are crisp and don’t stretch when stuffed. I also used fleece for one of the bunnies so that he is soft and cuddly.

I haven’t made a lot of toys however this pattern I will make again and again as it’s easy to follow and I am really pleased with the results.

I have adapted the same pattern to make the Cheeky Chicks, designing the wings, beak, feet and its groovy hairstyle.

If you are interested in giving a bunny or chick a home, please contact me. They are £10.00 each plus postage of £3.00. Bunny measures 37cm in height including ears and Chick is 27cm high.